


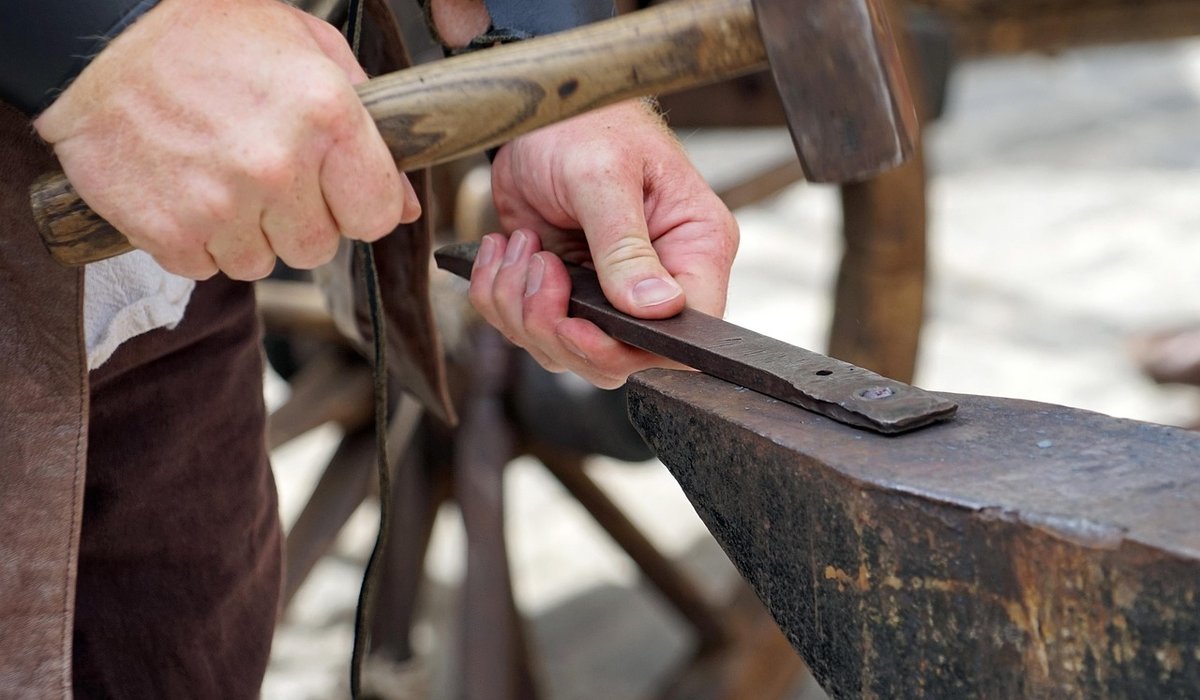
A small garden gate is often the first thing a visitor touches, so it deserves the same thought as the front door. In forged iron, a gate can be light enough to swing with two fingers yet sturdy enough to last decades. The trick is to settle the proportions, hinges and finish on paper before any metal is cut or fire lit.
Start with the Opening, Not the Gate
Measure the actual gap between your gate posts at the height where the hinges will sit, and measure it again at the base. Old masonry moves, and frost heave in a British winter can shift a pier by 15mm or more. Take the narrower of the two figures as your working width.
For a pedestrian garden gate, a clear opening of 900mm (3ft) is comfortable, though 750mm works for a narrow side path. Keep the gate itself roughly 20mm smaller than the opening so it does not bind when wet timber posts swell or a metal post moves. Height is a matter of proportion: for a gate under 1m wide, a height of 1.05m to 1.15m looks well-balanced and still lets you rest a hand on the top rail. Anything above 1.2m on a narrow gate starts to look like a barrier rather than an invitation.
Allow a ground clearance of 40mm to 50mm beneath the bottom rail. This sounds generous, but it keeps the iron clear of wet grass, leaf litter and the splash zone from a downpipe. On a slope, the gate wants to follow the rake rather than sit level, so the bottom rail runs parallel to the ground and the hanging stile stays plumb.
Proportions, Rails and Frame
Traditional ironwork relies on a few simple rules that keep a small gate looking right.
- Stiles: the vertical side bars should be visibly heavier than the internal bars, typically 25 x 10mm flat or 30 x 10mm for a gate over 1m wide.
- Top rail: set 75mm to 100mm below the top of the stiles so the stiles finish proud and give the gate a crisp silhouette.
- Mid rail: roughly two-thirds of the way down, which places it near your hand for steadying as you reach the latch.
- Bottom rail: 100mm to 150mm above the base, keeping it out of standing water.
If you want vertical bars, space them at 100mm to 110mm centres for a visual rhythm that reads as fine but not flimsy. Smaller gaps feel prison-like; wider ones look mean and let small dogs through. A good test is to stand three metres back and squint: the frame should dominate, the infill should support it.
Hinge Choice and Hanging Position
Hinges carry the whole gate, so this is not the place to economise. Traditional options include hook-and-band hinges on a pintle driven into the post, or a cranked strap hinge bolted to the face of the stile and post. For a gate up to 1.2m wide, two hinges are usually enough, but three spread the load and reduce sag on heavier decorative designs.
Place the top hinge approximately 150mm below the top rail and the bottom hinge 150mm to 200mm above the bottom rail. That spacing resists twisting far better than hinges pushed tight to the corners. Consider a rising butt hinge if the gate opens over uneven paving and needs to lift clear of a slope.
Decide the swing direction early, because it affects where the latch sits and how the diagonal brace runs. A brace should always run from the bottom of the hanging stile up to the top of the closing stile, forming a triangle that carries the weight back to the hinge. Put it the other way and the gate will drop within a season.
Decorative Details That Earn Their Place
Forged detail should look structural even when it is ornamental. A simple scroll welded into the top corner of a frame can suggest strength rather than clutter. A pair of forged finials on the stile tops frames the gate nicely and stops rainwater sitting flat on a cut end. A central motif, perhaps a single leaf or a ring, gives the eye somewhere to rest.
Keep the ironwork honest. Hammered tapers, visible scarfed joints and slightly irregular scrolls are the marks of hand forging, and they read beautifully against brick or hedge. Heavy cast ornament bolted on afterwards tends to look pasted on and traps water at the fixings. If you use a nameplate or house number, fix it with countersunk screws into drilled and tapped holes rather than welding it on, so it can be removed for painting.
Protecting Forged Iron from British Weather
Rain, salt air and freeze-thaw cycles are the real enemies. Water finds any upward-facing ledge, any unwelded crevice, and any hollow section without a drain hole. Design so water runs off: slope the top rail slightly, avoid flat horizontal surfaces between bars, and drill a 6mm weep hole at the lowest point of any box section.
For finish, blast the steel to a clean surface, apply a zinc-rich or zinc phosphate primer, then build coats of a good metal paint. Traditionally this meant red lead primer followed by several coats of oil-based gloss, brush-applied so the paint is pushed into every crevice. Modern equivalents using micaceous iron oxide give similar protection with a subtle sheen that suits ironwork better than a flat plastic coating.
Paint the whole gate before hanging, then touch in the hinge fixings and the bolt heads afterwards. Leave a small unpainted margin where the gate meets the latch so metal never grinds on metal, and grease the hinge pins once a year.
Test the Design Before the Forge
Cut a full-size profile from stiff cardboard or thin ply and hang it in the opening. Look at it from the house, from the path, and from the street at dusk. Check the swing arc clears the wall, the planting and your knee. Confirm the latch height suits both a tall adult and a child, and that a post box or bell is reachable without leaning over the gate. A few hours with card and pencil will save a great deal of hot metal, and the gate you forge will sit in its opening as though it grew there.


Leave a reply