


Why a Simple Forge Beats a Complicated One
There is a romance to the idea of a sprawling workshop with a coal bunker, a power hammer, and a dozen tongs hanging in neat rows. But the truth is that most of the finest first projects — a set of bottle openers, a poker for the wood burner, a hook for the shed door — come out of a forge no bigger than a shoebox. A simple backyard forge is cheaper, safer, easier to control, and far less likely to annoy the neighbours. Build it well, learn its moods, and you will be surprised how much hot metal you can move in an afternoon.
This guide assumes you have a modest outdoor space, a reasonable distance from fences and sheds, and a healthy respect for fire. Nothing here requires specialist tools beyond a sturdy stand and a way to move hot steel.
Choosing the Right Spot Before You Buy a Single Brick
Site selection matters more than the forge itself. You want a patch of ground that is level, well away from anything combustible, and open to the sky. A concrete slab or a gravel pad is ideal. Grass will scorch and eventually die, which is acceptable if you do not mind a bald patch, but dry grass in a hot summer is a genuine hazard.
Think about where the wind usually blows. You do not want smoke drifting into a neighbour's kitchen window or, worse, into your own house. Position the forge so the prevailing breeze carries fumes away from occupied buildings and towards open air. In the UK, that often means facing the forge mouth roughly south-west, but watch your own garden for a few days and trust what you see.
- Keep a minimum of three metres clear around the forge, more if your boundary is timber.
- Avoid overhanging branches, tarpaulins, and rotary washing lines.
- Check your local council rules on smoke and nuisance before you commit.
Materials for a Basic Fire Brick Forge
The heart of the build is a small box made from insulating fire bricks. These are soft, lightweight, and pale — quite different from the dense yellow bricks in a garden wall. They hold heat beautifully and will not spall under a direct flame. You need roughly ten to twelve for a simple open-topped design, depending on the size you choose.
A forge around 20 to 25 centimetres across is plenty for beginners. Line the base with a couple of bricks laid flat, build up the sides, and leave one end open or partly open as the mouth. You do not need mortar. Fire bricks can simply be stacked and rearranged, which makes cleaning out clinker and ash far easier.
For the fuel, traditional lump charcoal is forgiving and easy to source. Coal burns hotter and lasts longer but produces more smoke and needs careful attention. Do not use briquettes designed for barbecues — they contain binders and behave poorly under a blast of air.
- Twelve insulating fire bricks — the building blocks of the forge body.
- A steel baking tray or shallow metal pan — sits underneath to catch ash and protect the ground.
- A length of steel pipe — around 25 to 30 millimetres diameter, used as the air inlet.
- A hairdryer or small blower — controlled with a dimmer switch if you can manage it.
- Leather gloves, safety glasses, and a cotton or leather apron.
Building the Stand and Air Supply
The forge body must sit at a comfortable working height — roughly 70 to 80 centimetres, so you can stand and look down into the fire without stooping. An old steel table, a sturdy wooden bench topped with a sheet of metal, or even a metal drum cut to size will do. Whatever you choose, it must not wobble. A forge that shifts under a hammer blow sends hot coals flying.
Set the metal tray on the stand, arrange the bricks on top, and feed the pipe through the side so its end sits just below where the fire will be. A fire brick with a hole drilled or a notch cut into it makes a neat entry point. Seal the gaps around the pipe with a little clay or fire cement if you have it. The blower connects to the outer end of the pipe. Never point a blower directly into the fire without a pipe — it scatters embers.
Start with a small fire of kindling and charcoal, then add air gradually. Too much blast too soon sends sparks skyward and wastes fuel. You are looking for a steady, glowing heart with a clean flame and minimal smoke once it is up to temperature.
Safety Essentials You Cannot Skip
Fire is only part of the risk. Hot metal looks identical to cold metal, and a pair of tongs left on a bench will burn a hand just as badly as the workpiece. Establish strict habits from day one.
- Water bucket and a dry powder extinguisher within arm's reach, every single time.
- No bare hands near the forge. Long tongs, leather gloves, and a clear mental map of where hot steel is resting.
- Quench bucket — a metal pail of water for cooling tools and finished pieces.
- Ventilation. Even outdoors, do not lean over the fire breathing fumes. Coal smoke is genuinely harmful.
- Turn off the blower when you step away, even for a minute.
Dress sensibly. Synthetics melt against skin; wool, leather, and heavy cotton do not. Tie back long hair and avoid loose sleeves that can catch a spark.
Your First Fire and First Hammer Blows
Light the forge with kindling, add charcoal gradually, and bring it up to heat with gentle air. You will know it is ready when the bricks glow and the fire is bright without thick smoke. Place a short length of mild steel bar — a piece of 10 or 12 millimetre round bar is ideal — into the heart of the fire and watch for it to turn a dull cherry red, then a bright orange. That is forging temperature.
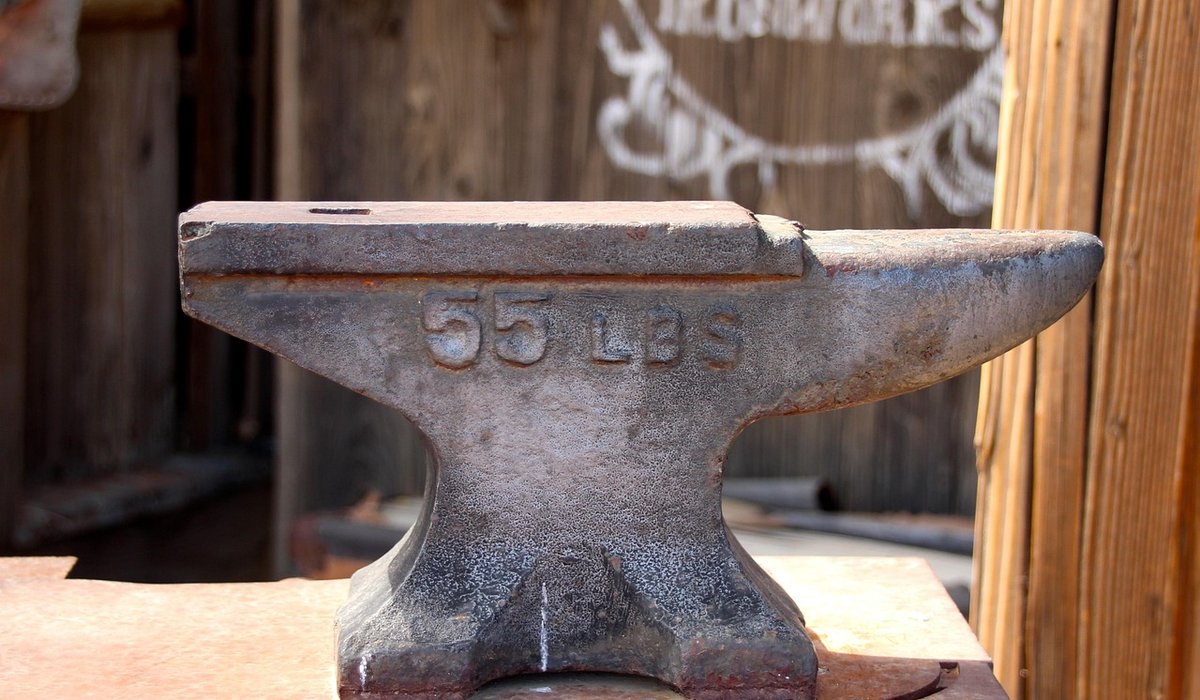
Move it to your anvil or a sturdy lump of steel, and tap rather than wallop. Short, controlled blows teach you far more than brute force. When the colour fades below red, put it back in the fire. This rhythm — heat, hammer, heat — is the whole craft in miniature. Build the forge, respect it, and it will serve you for years.


Leave a reply